Dreamweaver tutorial: Creating a centered container for your page in Dreamweaver
What you’ll learn in this Dreamweaver Tutorial:
|
This tutorial provides you with a foundation for working with Adobe Dreamweaver centered containers. It is the fifth lesson in the Adobe Dreamweaver CS5 Digital Classroom book. For more Adobe Dreamweaver training options, visit AGI’s Dreamweaver Classes. |
Adobe Dreamweaver Tutorial: Creating a centered container for your page in Dreamweaver
The goal of this lesson is to create the home page for the Organic Utopia site. This page will look like the thumbnail below.
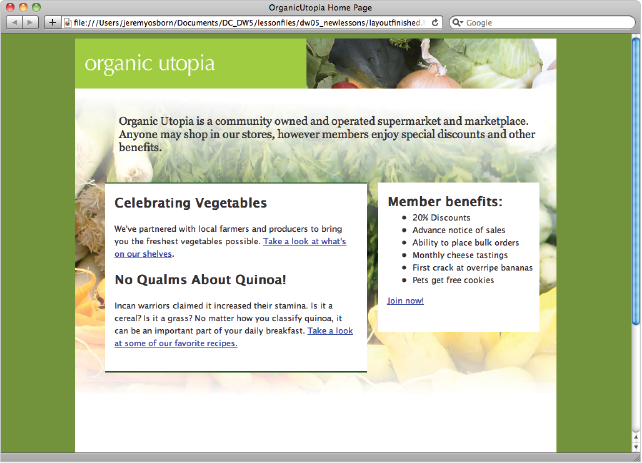
The home page will be a different design and layout than the rest of the site (this layout is covered in more detail in Lesson 6), and you will start by creating a container that will end up nesting the other sections of your page such as the header, sidebar and other elements. This container will have a fixed width of 770 pixels and also be centered within the browser window.
This container will use a combination of relative positioning and automatic margins to achieve the centering effect. Relative positioning allows you to position this box relative to the body of the page, and the automatic margins will force the fixed-width container to stay centered regardless of the browser window’s width.
1 In the Files panel, navigate to the dw05lessons folder and double-click the layout.html file to open it. This document has been partially prepared for you, with a background color and a page title added. Additionally, the default font, font color, and font size have been defined as Lucida Sans, grey, and small, respectively. Your first step will be to add a box, which will become your main column of text.
2 If it’s not already visible, open the Insert panel by choosing Window > Insert. The Insert panel features a list of objects that can be added to your pages easily.
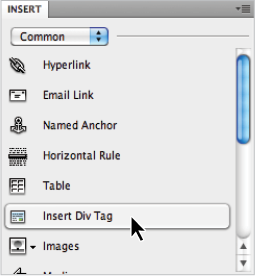
3 In the bottom-left corner of your document window, click on the <body> tag. Remember, the body tag encloses all the other tags within a page. You will now create a new <div> element that will function as a container for the other layout elements. In the Insert panel, click on the Insert Div Tag button.
|
Click the Insert Div Tag to add a |
4 The Insert Div Tag dialog box appears. Click in the ID text field and type container, then click on the New CSS Rule button. In the New CSS Rule definition dialog box that appears, make sure that #container is listed as the Selector Name and then click OK. The CSS Rule definition dialog box appears and you can begin to style your container div.
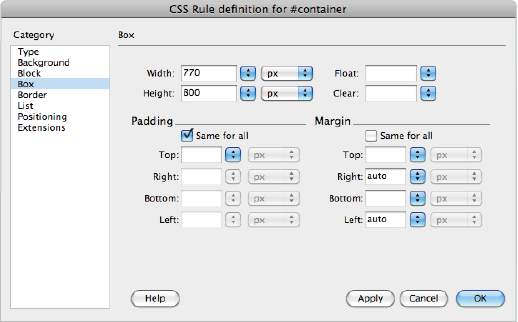
5 Select the Box listing in the Category column on the left side of the dialog box. In the Width text field, type 770 and make sure px (pixels) is selected from the drop-down menu to the right. For Height, type 800 in the text field. In the Margin section, uncheck Same for All, then, from the Right margin drop-down menu, choose auto. Choose auto from the Left margin drop-down menu as well.
|
Choose the settings for the #container element. |
You’ll explore using margins soon, but by setting a margin value of auto to the left and right side of the container, you are instructing the browser to put equal amounts of space on the right and left sides. The end result will be a box that is centered within the browser window.
6 Select the Background category on the left side of the dialog box, then click the Background-color swatch and choose the white (#FFF) swatch. This adds a background color of white to your entire container, separating it from the background.
7 Select the Positioning category on the left side of the dialog box and choose relative from the Position drop-down menu. This is key to the success of your next steps. By setting the position of the container to relative you will be able to position the page elements using the container as a frame of reference. Press OK in this dialog box, as well as OK for the Insert Div Tag dialog box that is still open.
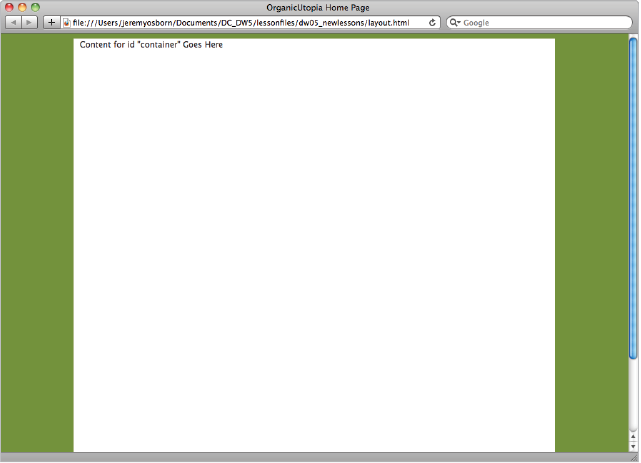
8 Choose File > Save, then choose File > Preview in Browser. Your container will be centered in the middle of your browser window and Dreamweaver’s default placeholder text is aligned in the top left of your container. (Occasionally, we have noticed Dreamweaver does not add this placeholder text, if this is the case for you, type content for id “container” Goes Here.)
|
With position set to relative and auto margins the container element will always be centered. |
Resize the browser width; the container stays centered until the window is narrower than 770 pixels, at which point the box is cropped. Close your browser. If your container div did not appear centered, it is possible you are using an older browser. Even if your container div is centered, there are a few additional steps you will now add to ensure the page centers in older browsers.
Making layouts cross-browser compatible in Dreamweaver
If you are new to web design, welcome to the world known as CSS hacks. In an ideal world, all web browsers would render HTML and CSS using the same set of rules, and all web pages would look the same, regardless of the browser. Unfortunately, this is not the case. For a variety of reasons, different web browsers render pages differently. For example, older web browsers such as Netscape 4 and Internet Explorer 4 do not render CSS positioning particularly well. More modern browsers have their own set of quirks as well. In certain cases, additional rules can be added to the CSS that make the page work. These fixes are never ideal because they require additional code and sometimes create more problems than they solve; however, they are necessary if you want your pages to look similar across browsers.
1 Double-click on the body rule in the CSS Styles panel to edit its properties. In the CSS Rule definition dialog box, select the Block category and choose center from the Text-align drop-down menu. Press OK.
This fixes a problem that exists with version 6 (and earlier) of Internet Explorer regarding automatic margins. Although this fixes the bug, it creates another problem in that it will center all text on your page (you can see this currently in your container). So, in order to fix that problem you must create another rule to counteract this one.
2 Double-click the #container rule in the CSS Styles panel. In the CSS Rule definition dialog box, select the Block category on the left, then choose left from the Text-align drop-down menu. This will align your text to the left, and all is back to normal. Press OK to accept these changes.
3 Choose File > Save.
In this exercise you created a centered box named container. In the next exercise, you will place all of your other layout sections as well as your content, into this container. Before doing this, a brief overview of the difference between absolute and relative positioning may help.
For a more in-depth look at cross-browser compatibility see the Web Design with HTML and CSS Digital Classroom available in electronic and print formats. |
Continue to the next Dreamweaver Tutorial: Absolute versus relative positioning in Dreamweaver >