Photoshop Elements Tutorial: Adjusting Exposure in Photoshop Elements
What you’ll learn in this Photoshop Elements Tutorial:
|
This tutorial provides you with a foundation for working with adjusting exposure in Adobe Photoshop Elements. It is the fourth lesson in the Adobe Photoshop Elements 10 Digital Classroom book. |
Photoshop Elements Tutorial: Adjusting Exposure in Photoshop Elements
With Photoshop Elements, you can go beyond the automatic fixes that the program provides and use layers and blending modes to correct your images. You can also use adjustment layers for your changes. When you save the file in the native Photoshop format (.psd), your layers are retained, and none of your changes permanently modifies the image.
Starting up
Within the Photoshop Elements Organizer: You will work with several files from the Lessons folder in this lesson. Make sure that you have downloaded the Lessons folder onto your hard–drive. In order to access these files in the Organizer, you need to import them. See “Adding files and folders to the Organizer” located in Lesson 1.
Within the Photoshop Elements Editor: The Photoshop Elements Editor defaults to the last panel layout that you used. Before starting, make sure your tools and panels are consistent with the examples presented in these lessons by resetting the panel locations. Do this by choosing Window > Reset Panels or pressing the Reset Panels button ( ) at the top of the workspace.
Welcome screen
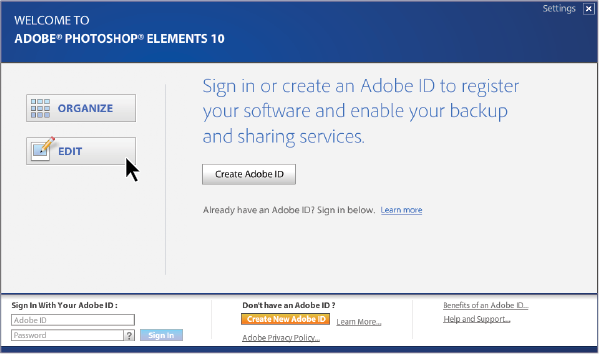
If you’re currently viewing the welcome screen, press the Edit button ( ) to enter the Editor workspace. If you are currently in the Organizer, press the triangle to the right of the Fix tab and choose Full Photo Edit from the drop-down menu.
|
Choose Edit from the Photoshop Elements welcome screen. |
Understanding exposure
Exposure is a measure of the amount of light allowed to reach the film or CCD (for digital photography) of a camera when a photo is taken. If a digital photo is underexposed, it is too dark; Digital images that are overexposed are too light. In this exercise, you will explore an alternative way of fixing exposure problems in your images.
Exposure adjustments with blending modes
In Lesson 3, “Fixing Common Photographic Problems,” you fixed exposure problems by using the auto-correction features. In this lesson, you will use a different technique to get the same effect. You will first adjust an underexposed image, then you will fix an overexposed image. The edits you make in this lesson will not modify the underlying image.
Improving underexposed images
The first thing to discuss in this lesson is what layers are, and what blending modes are. You will start by learning the difference between Multiply and Screen blending modes.
1 From within the Editor, press the Organizer button ( ) to view the Lessons. If you can’t see the filenames, choose View > Show File Names.
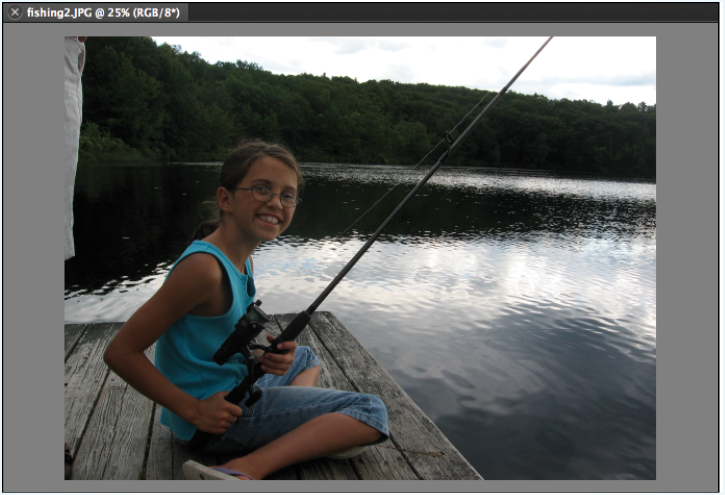
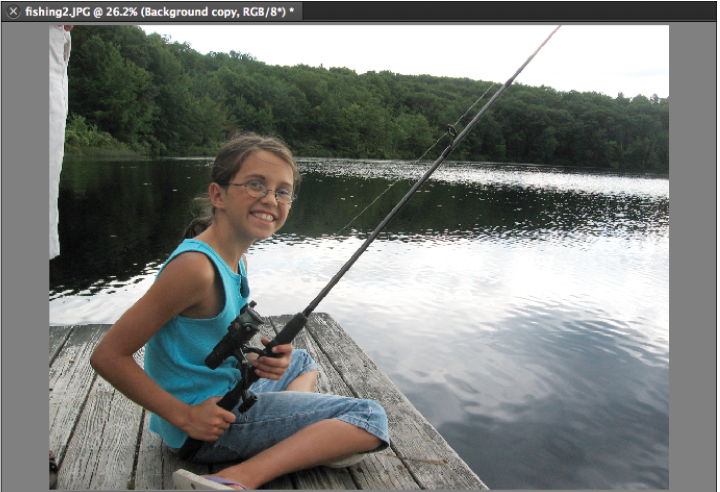
2 Locate and select fishing2.jpg. Press the arrow icon to the right of the Fix tab, then choose Full Photo Edit from the drop-down menu, or use the keyboard shortcut, Ctrl+I (Windows) Command+I (Mac OS).
|
The fishing image. |
Layers
Layers are like transparent sheets of clear film stacked on top of one another. When artwork is placed on different layers, it can be moved and edited independently. You can paint on or erase parts of a layer; erasing creates a transparent area where you can see the layers below. The Layers panel allows you to manage layers; from here you can create, lock, and hide them.
1 If the Layers panel is not visible, choose Window > Layers to show the Layers panel.
|
The Layers panel in Photoshop Elements. |
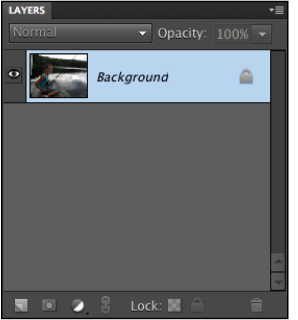
2 Select the layer named Background, Press the panel menu button ( ) at the top right of the panel, and choose Duplicate Layer.
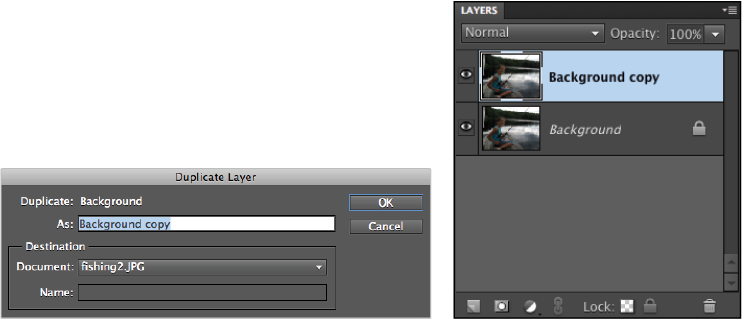
3 The Duplicate Layer dialog box opens. Leave the settings at their defaults and press OK.
|
The Duplicate Layer dialog box. You should now have two layers. |
Blending modes
Blending modes in layers control how pixels in an image are affected by other layers. The common blending modes are Multiply and Screen.
The Multiply blending mode takes a looks at the color information in the layers below the current layer and multiplies the base color (color from the layer beneath) by the blend color (color from the current layer). The result is always a darker image, because multiply loses the white in the image.
The Screen blending mode looks at each layer’s color information and multiplies the inverse of the layers below. The resulting image is always lighter, because the Screen blending mode loses the black of the image.
You are going to apply the Screen blending mode to the Background copy layer to lighten the image.
1 In the Layers panel, make sure the Background copy layer is selected, then change the blending mode from Normal to Screen at the top of the Layers panel. The result is an instantly lighter photo.
|
The image after applying the Screen blending mode. |
To see how this blended layer has affected the image, press the visibility icon ( ) next to the Background copy layer to hide the layer. Press the visibility icon again to show the layer.
2 Choose File > Save. In the Save As dialog box, type fishing2_working in the Name text field and change the format to Photoshop. Press Save.
3 Choose File > Close. If asked to save the changes, press No.
Improving faded or overexposed images
Because of lighting conditions, photos can appear too bright, or washed out. They are considered overexposed, because too much light was allowed into the camera. In this exercise, you will use the Multiply Layer blending mode to darken a washed-out image.
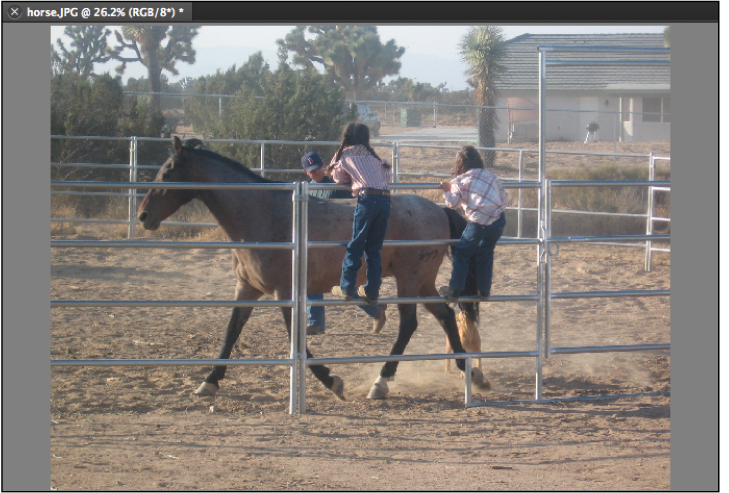
1 In the Organizer, locate and select horse.jpg. Press the arrow button to the right of the Fix tab and choose Full Photo Edit from the drop-down menu.
|
The horse image before editing. |
2 Select the Layer named Background, Press the panel menu button ( ), and choose Duplicate Layer.
3 The Duplicate Layer dialog box opens. Leave the settings at their defaults and press OK.
4 In the Layers panel, make sure the Background copy layer is selected, then choose Multiply from the Blending mode drop-down menu.
|
The image after selecting the Multiply blending mode. |
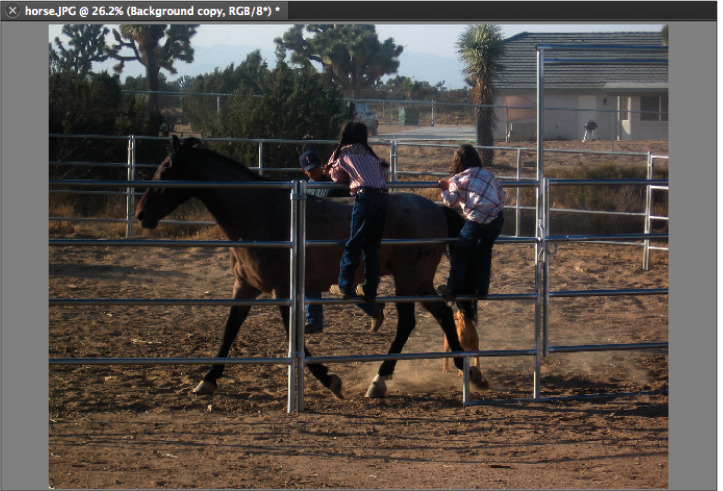
The result is a darker photo. However, this is too dark. You can reduce the effect a bit by lowering the opacity of the current layer, adjusting how much of the effect is applied.
5 Use the Opacity drop-down menu that is located to the right of the Blending mode drop-down menu at the top of the Layers panel to adjust how much of the effect you want to apply to the photo. Type 65 into the Opacity text field or move the slider to 65.
|
Adjusting the Opacity of the blended layer. |

To see how this blended layer has affected the image, press the visibility icon () to the left of the Background copy layer to hide it. Press the visibility icon again to show the layer.
 | Feel free to try other blending modes during this exercise to see how each blending mode affects the image. To easily cycle through blending modes, use the keyboard shortcut, Shift++ (plus key) or Shift+- (minus key). |
6 Choose File > Save. In the Save As dialog box, type horse_working in the Name text field and change the format to Photoshop. Press Save.
7 Choose File > Close. If asked to save the changes, press No.
Making adjustments manually
Not every image can be adjusted automatically. Some images need more attention than others. In this exercise, you will learn how to manually adjust brightness and contrast, as well as shadows and highlights. You will also learn how to read a Histogram to adjust both Levels and Curves of an image. In this exercise, you’ll duplicate and save one image as four different files, so that you can compare what each feature does to an image.
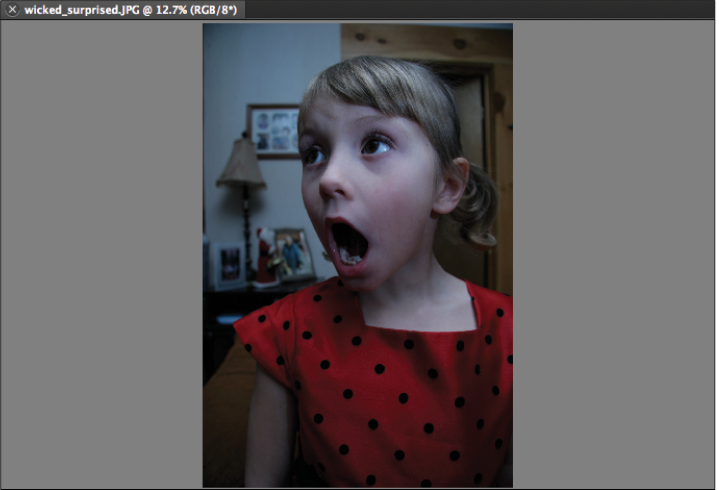
1 In the Organizer, locate and select wicked_surprised.jpg. Press the arrow to the right of the Fix tab and choose Full Photo Edit from the drop-down menu.
|
The wicked_suprised image. |
2 Once the image is open, choose File > Save As. Navigate to the Lessons folder. Click the Save in Version Set with Original checkbox to uncheck it, and then type Brightness Contrast.jpg in the Name text field. Press Save. In the JPEG Options dialog box, press OK to accept the current JPEG settings.
3 Choose File > Save As again and type Shadow Highlight.jpg in the Name text field; then press Save. Choose File > Save As two more times and save the files as Lighting Levels.jpg and Curves.jpg, again deselecting the Save in Version Set with Original checkbox unchecked. Close any open images in the Editor when you are finished.
4 In the Organizer, select the Brightness Contrast.jpg file and click the arrow to the right of the Fix tab and choose Full Photo Edit, or press Ctrl + I (Windows) or Cmd + I (Mac OS) to open the image in the Editor.
Adjusting brightness and contrast manually
The Brightness/Contrast command helps you adjust an image that does not use its entire tonal range. Images that are too dark can be made brighter. This often throws off the contrast of the image, which can also be adjusted in this window.
1 Choose Enhance > Adjust Lighting > Brightness/Contrast. No changes are made yet.
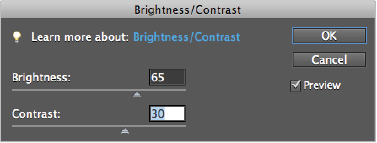
2 Drag the Brightness slider to the right to 65, or type 65 in the Brightness text field, to brighten the image.
3 To bring back some shadows, increase the contrast to 30 by dragging the Contrast slider to the right, or by typing 30 in the Contrast text field. To get a quick view of your adjustments, click to check, and then uncheck the Preview checkbox to compare before and after versions. Press OK.
|
Adjusting brightness and contrast. |
4 Choose File > Save to save your edits. If the Save As dialog box opens, deselect the Save in Version Set with Original checkbox and press Save. If Photoshop Elements asks you to replace the file, press Yes, then press OK when the JPEG Options dialog box appears.
|
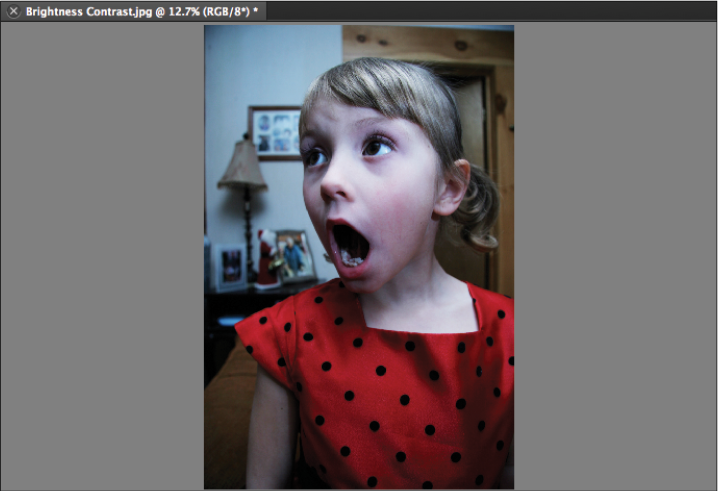
After adjusting the brightness and contrast. |
Adjusting shadows and highlights manually
Shadows and Highlights allows you to lighten shadows, darken highlights, and also adjust the midtone contrast. In this exercise, you will work on a different version of the same image.
1 In the Organizer, select the Shadow Highlight.jpg file and click the arrow to the right of the Fix tab and choose Full Photo Edit, or press Ctrl+I (Windows) or Command+I (Mac OS) to open the image in the Editor..
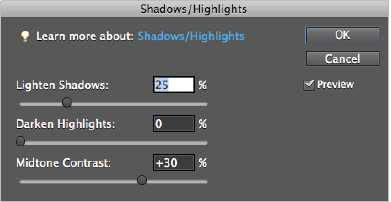
2 Choose Enhance > Adjust Lighting > Shadows/Highlights. Shadows are lightened by 25 percent by default.
3 Notice that the image now has a dull, bluish-gray appearance. Increase the midtone contrast to +30 to regain some contrast inside the image by moving the slider to the right, or by typing 30 in the Midtone Contrast text field. Press OK.
|
The adjusted Shadow/Highlight settings. |
4 Choose File > Save to save your edits. In the Save As dialog box, uncheck the Save in Version Set with original checkbox, and press Save. If Photoshop Elements asks you to replace the file, press Yes, then press OK when the JPEG Options dialog box appears.
|
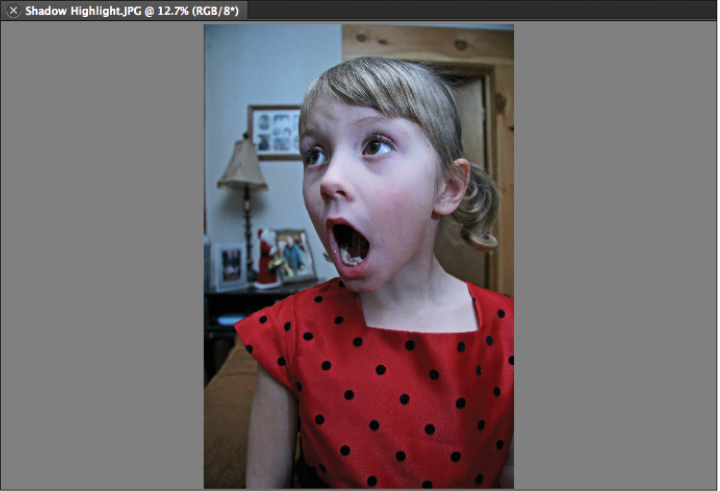
The image after Shadow/Highlights is applied. |
Continue to the next Photoshop Elements Tutorial: Making tonal adjustments using Levels in Photoshop Elements >