Excel Tutorial: Editing Excel Cells, Data and Worksheets
It's important to know how to edit cells, data and worksheets in Excel in order to create or maniuplate data within a worksheet. A common occurrence when constructing worksheets in Excel is the need to edit, rearrange, or work with data that has already been entered. For instance, you might need to move a range of cells from one location to another, copy a collection of cells so they can be reused in another section, or even clear a selection of cells altogether.
Editing data in Excel cells
To edit existing data in a cell, you have two options. You can edit the data directly in the cell, or you can use the Formula bar. Before you can edit data, though, you must first select the cell containing the data.
To edit data directly in the cell, double-click the cell you want to edit. When the cursor appears in the cell, make your changes.
- In the file excel02_customers, double-click cell A2.
- Type List after Customer and press Enter.
To edit data in the Formula bar, click the cell you want to edit and move the pointer up to the Formula bar. When it changes into the cursor shape, click to set the insertion point and make your changes.
- Click cell A2.
- Click in the Formula bar to set the insertion point between Customer and List.
- Type Contact, add a space and press Enter.
Using cut, copy, and paste in Excel
The Cut, Copy, and Paste commands allow you to rearrange existing worksheet data. With Cut, you can move data from one location to another; Copy allows you to make multiple copies of a range of data. When you use Cut and Copy, Excel uses the Clipboard to temporarily store the data until the next time you use the Cut or Copy command. Data you have selected to be cut or copied appears highlighted by a dashed line border instead of the usual solid border.
To move a range of data from one location to another, use the Cut and Paste commands. Excel removes the selected data from its original location and inserts it into the new one. Note that you can only paste a range of data that has been cut once. Follow these steps to cut, paste, or copy in Excel:
- Select range A5:E37
- Choose Cut from the Clipboard group on the Home tab.
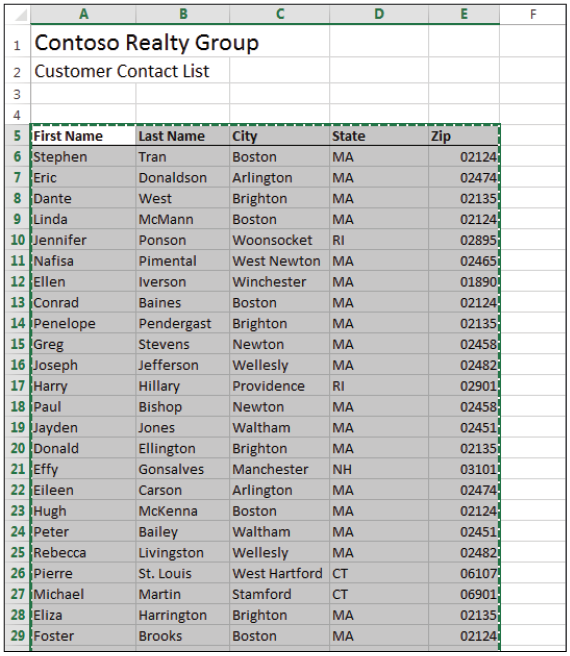
When you select a range of cells to Cut or Copy, Excel uses a dashed border to indicate the selected range. - Click in cell B5 and choose Paste.
To reuse a range of cells in another area of your worksheet, use Copy and Paste. Excel keeps the original selection intact and inserts a copy in the new location. You can paste as many copies of the selected data as you need.
- Select range B37:F37.
- Choose Copy from the Home tab.
- Click in cell B38 and choose Paste.
- Enter Kelvin in cell B38 and Davis in cell C38.
 | Notice that the contents of column D have been truncated. This occurs because the contents are longer than the current column width can accommodate. To resize the column width, double-click the border separating column D and E. Excel automatically adjusts the width to the widest entry. (For more information on changing column widths, see Lesson 3, “Formatting Excel Worksheets.”) |
Inserting cells in Excel
Another way to reorganize a worksheet is to insert cells within an existing range of data when you need to add new information. You can insert a new cell one at a time or insert a range of cells all at once. When you do, you can shift existing cells to the right or down to accommodate the new cells.
- Select range B8:F8.
- Click the arrow just below the Insert command in the Cells group on the Home tab.
- Choose Insert Cells from the resulting menu.
- From the Insert dialog box, click Shift cells down.
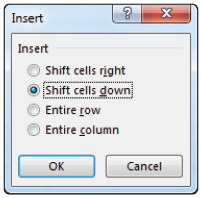
Insert a range of cells to add data to an existing worksheet. - Click OK and then choose File > Save to save your work.
Deleting cells from Excel worksheets
When you need to remove a range of cells from a worksheet altogether, you can delete them. Excel then automatically adjusts the existing data. Follow these steps to delete cells from an Excel worksheet:
- Select range B8:F8.
- Click the arrow just below the Delete command in the Cells group of the Home tab.
- Choose Delete Cells from the resulting menu.
- From the Delete dialog box, click Shift cells up and then click OK. Excel shifts the existing cells automatically.