Dreamweaver tutorial: Placing images in HTML in Dreamweaver
What you’ll learn in this Dreamweaver Tutorial:
|
This tutorial provides you with a foundation for working with Adobe Dreamweaver images. It is the first lesson in the Adobe Dreamweaver CS5 Digital Classroom book. For more Adobe Dreamweaver training options, visit AGI’s Dreamweaver Classes. |
Adobe Dreamweaver Tutorial: Placing images in HTML in Dreamweaver
You use some tags in HTML to place items, such as pictures or media files, inside a web page. The <img> tag is the most common example; its job is to place and format an image on the page. To place an image and see the resulting code, follow these steps:
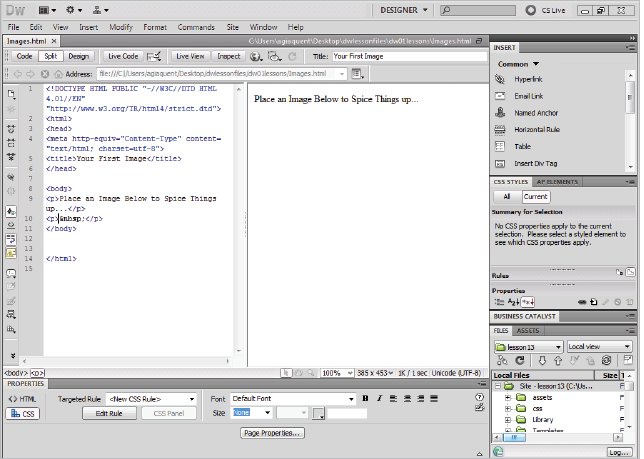
1 Choose File > Open. When the Open dialog box appears, navigate to the dw01lessons folder. Select the Images.html file and press Open to edit the file.
2 If necessary, click the Split button in the Document toolbar so that you’re viewing both the layout and the code for your page. In the Design view portion of the Split view, click below the line of text to place your cursor underneath it. This is where you’ll place a new image.
|
Enter the Split view before you insert the image onto your page. |
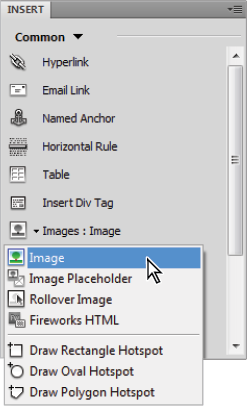
3 From the Common category in the Insert panel on the right side of the screen, click on the Images element ( ) and choose Image. When the Select Image Source dialog box appears, select the file named gears.jpg, located in the images folder within the dw01lessons folder.
|
Choose Image from the Common tab on |
4 Press OK (Windows) or Choose (Mac OS); when the Image Tag Accessibility Attributes dialog box appears, type the words Gears Image in the Alternate text field, and press OK to place the image.
|
Attach alternate text to your image. |
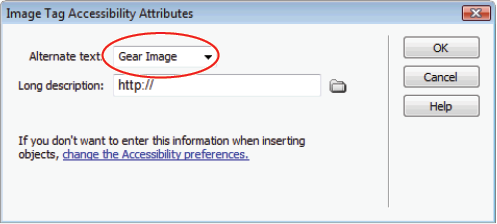
The Image Tag Accessibility Attributes dialog box appears when you add images, to provide additional information for users with special needs (such as the visually impaired). You should always provide each image with alternative text, but you can disable this panel by choosing Edit > Preferences (Windows) or Dreamweaver > Preferences (Mac OS). In the Accessibility category, uncheck the Images option. |
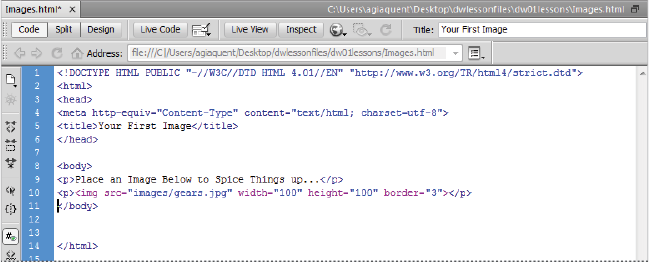
5 The code shows that the HTML <img> tag has been used to place the image. Click once on the image in the document window to select it. The Property Inspector at the bottom of the page displays and sets the properties for the image.
6 In the Border text field of the Property Inspector, type 3 to set a three-pixel border around the image, then press Enter (Windows) or Return (Mac OS). Click on the background of the page to deselect and note the appearance of the border. The <img> tag now contains the border attribute, which is set to a value of 3, just the way you typed it in the Property Inspector.
|
As you change or add options to a selected image, Dreamweaver changes code behind the scenes. |
7 Choose File > Save to save your work, then choose File > Close.
Note that in HTML, images and media are not embedded, but placed. This means that the tags point to files in their exact locations relative to the page. The tags count on those files always being where they’re supposed to be in order to display them. This is why HTML pages are typically very lightweight in terms of file size.
Colors in HTML in Dreamweaver
In Dreamweaver’s various panels and in your code, each color is referred to by a six-character code preceded by a pound sign. This code is called hexadecimal code, and is the system that HTML pages use to identify and use colors. You can reproduce almost any color using a unique hexadecimal code. For example, you represent dark red in HTML as #CC0000.
The first, middle, and last two digits of the hexadecimal code correspond to values in the RGB spectrum. For instance, white, which is represented in RGB as R:255 G:255 B:255, is represented in HTML as #FFFFFF (255|255|255). Choosing colors is easy, thanks to a handy Swatches panel, which you can find in many places throughout the work area.
|
The Swatches panel makes it easy to |

The color pickers in Adobe Photoshop and Illustrator also display and accept hexadecimal codes, making it easy to copy and paste colors between these applications and Dreamweaver. |
Case sensitivity and whitespace rules in Dreamweaver
HTML is a flexible language that has very few rules regarding its own appearance. Based on how strictly you want to write it, HTML can be either very specific about whether tags are written in upper- or lowercase (called case sensitivity), or not specific at all. To see how HTML treats whitespace, follow these steps.
1 Choose File > Open. When the Open dialog box appears, navigate to the dw01lessons folder. Select the Whitespace.html file, then press Open.
2 If your file is not in Split view, press the Split button in the Document toolbar, so that you can view both the layout and the code. Notice three seemingly identical tags beneath line 9 in your code:
|
All these tags are valid, even though they have very different case structures. |
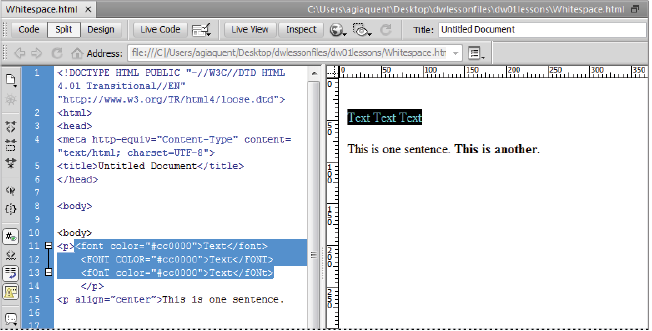
All three tags use a completely different case structure, but all are valid and are treated in the same way. Take a look at the text that reads This is one sentence. This is another. The code shows a lot of space between the two lines, but the Design view shows no space at all. This is because both whitespace and line returns between two pieces of text or tags are not recognized.
|
Despite the large amount of space between the two sentences, they appear side-by-side in the Design view. |
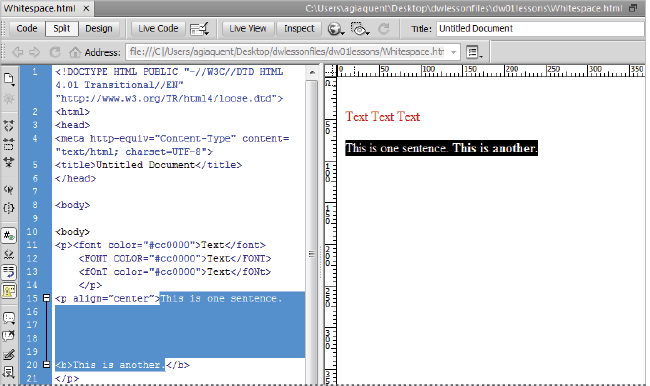
3 To create a line return, or a new paragraph, you need to enter the necessary HTML tags. In the Design view at the bottom, position your cursor after the first sentence, then press Shift+Enter (Windows) or Shift+Return (Mac OS) twice. This creates two line returns—you can see that each line return is created in your code by a <br> (break) tag. When rendered in the browser, the <br> tag adds blank lines between the sentences, however the sentences are technically within the same paragraph.
|
To create a line return, hold down the Shift key while pressing the Enter or Return key. |
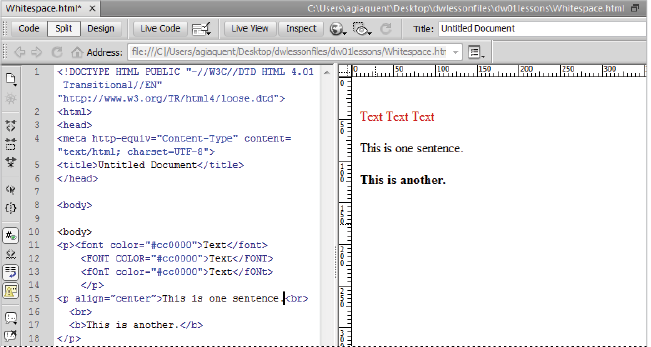
4 To create a new paragraph, position your cursor before the phrase, This is another, and press Enter (Windows) or Return (Mac OS). The text is separated by a line above and below, and is wrapped inside a set of <p> (paragraph) tags.
|
Dreamweaver creates a new paragraph each time you press the Enter or Return key. |
Other than a standard single space (such as the ones used between words), several consecutive spaces created by the spacebar are ignored, and are displayed as only one space in Design view and in a browser. |
5 Choose File > Save to save your work then choose File > Close.
Continue to the next Dreamweaver Tutorial: Tag hierarchy in Dreamweaver >