Photoshop tutorial: Exploring Photoshop Screen Modes
What you’ll learn in this Photoshop Tutorial:
|
This tutorial provides you with a foundation for working with Adobe Photoshop screen modes. It is the first lesson in the Adobe Photoshop CC Digital Classroom book. For more Adobe Photoshop training options, visit AGI’s Photoshop Classes. |
Adobe Photoshop Tutorial: Maximizing productivity with screen modes in Photoshop
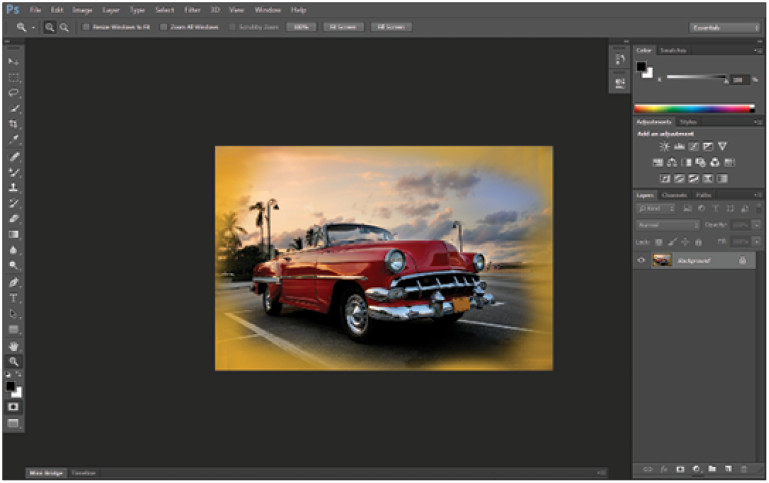
Now that you can zoom in and out of your document, as well as reposition it in your image window, it’s time to learn how to take advantage of screen modes. You have a choice of three screen modes in which to work. Most users start and stay in the default—Standard Screen mode—unless they accidentally end up in another. Screen modes control how much space your current image occupies on your screen, and whether you can see other Photoshop documents as well. The Standard Screen mode is the default screen mode when you open Photoshop for the first time. It displays an image on a dark gray background for easy and accurate viewing of color without distractions, and also provides a flexible work area for dealing with panels.
1 Click the tab of the ps0101_work.psd image to make that image active.
2 Press the Tab key; the Tools panel and other panels disappear, creating much more workspace. Press the Tab key again to bring the Tools panel and other panels back.
3 Press Shift+Tab to hide the panel docking area while keeping the rest of the panels visible. Press Shift+Tab to bring the hidden panels back. Both the Tools panel and the panel docking area should now be visible.
As you position your cursor over various tools, you see a letter to the right of the tool name in the tooltip. This letter is the keyboard shortcut that you can use to access that tool. You could, in fact, work with the Tools panel closed and still have access to all the tools via your keyboard. |
You will hide the panels once more so that you can take advantage of a hidden feature in Photoshop CC.
4 Press the Tab key to hide the panels. Then position your cursor over the thin gray strip where the Tools panel had been, and pause. The Tools panel reappears. Note that the Tools panel appears only while your cursor is in the Tools panel area, and it disappears if you move your cursor out of that area. Try this with the panel docking area to the right of the screen, and watch as that also appears and disappears as your cursor moves over the gray border off to the right. Keep in mind that this may not function as expected if you are using multiple monitors.
By changing the screen modes, you can locate over-extended anchor points and select more accurately up to the edge of your image. Changing modes can also help you present your image to clients in a clean workspace.
5 Press the Tab key again to display all the panels.
6 Press F to cycle to the next screen mode, which is Full Screen Mode With Menu Bar. This view surrounds the image out to the edge of the work area with a dark gray (even behind the docking area) and displays only one image at a time, without tabs, and centered within the work area. You can access additional open images by choosing the image name from the bottom of the Window menu.
You can also change your screen mode by selecting View > Screen Mode.
7 Notice that the gray background area (pasteboard) now extends to fill your entire screen and your image is centered within that area. One of the benefits of working in this mode is that it provides more area when working on images.
|
The Full Screen mode with Menu bar. |
8 Press F on the keyboard again to see the last screen mode, Full Screen Mode.
|
Full Screen mode. |

This is Full Screen mode. A favorite with multimedia users, it allows you to show others your document full-screen with no distracting screen elements. All menus and panels are hidden automatically in this mode; however, they are still accessible by hovering the cursor over the area where the panels normally reside. The panels temporarily reappear for easy access. If you’d like to see the panels while in this mode, press the Tab key to display and hide them.
9 Press the F key once to cycle back into Standard Screen mode, or click and hold the Change Screen Mode button at the bottom of the Tools panel and select Standard Screen Mode. If you do not see the Tools panels, you can press Tab.